My first attempt at 3D printing with the Sassen Design logo.
The steps involved with 3D printing are fairly straight forward.
- The artwork is created in Adobe Illustrator and exported as a .DWG file
- The .DWG file is opened in Google SketchUp and extruded to taste
- The file is then exported from SketchUp as a .STL file
- The .STL file is opened in MakerBox and is scaled to size
- It can then be sent to print – this took around 3.5 hours to print.

Step 1 The artwork is created in Adobe Illustrator and exported as a .DWG file
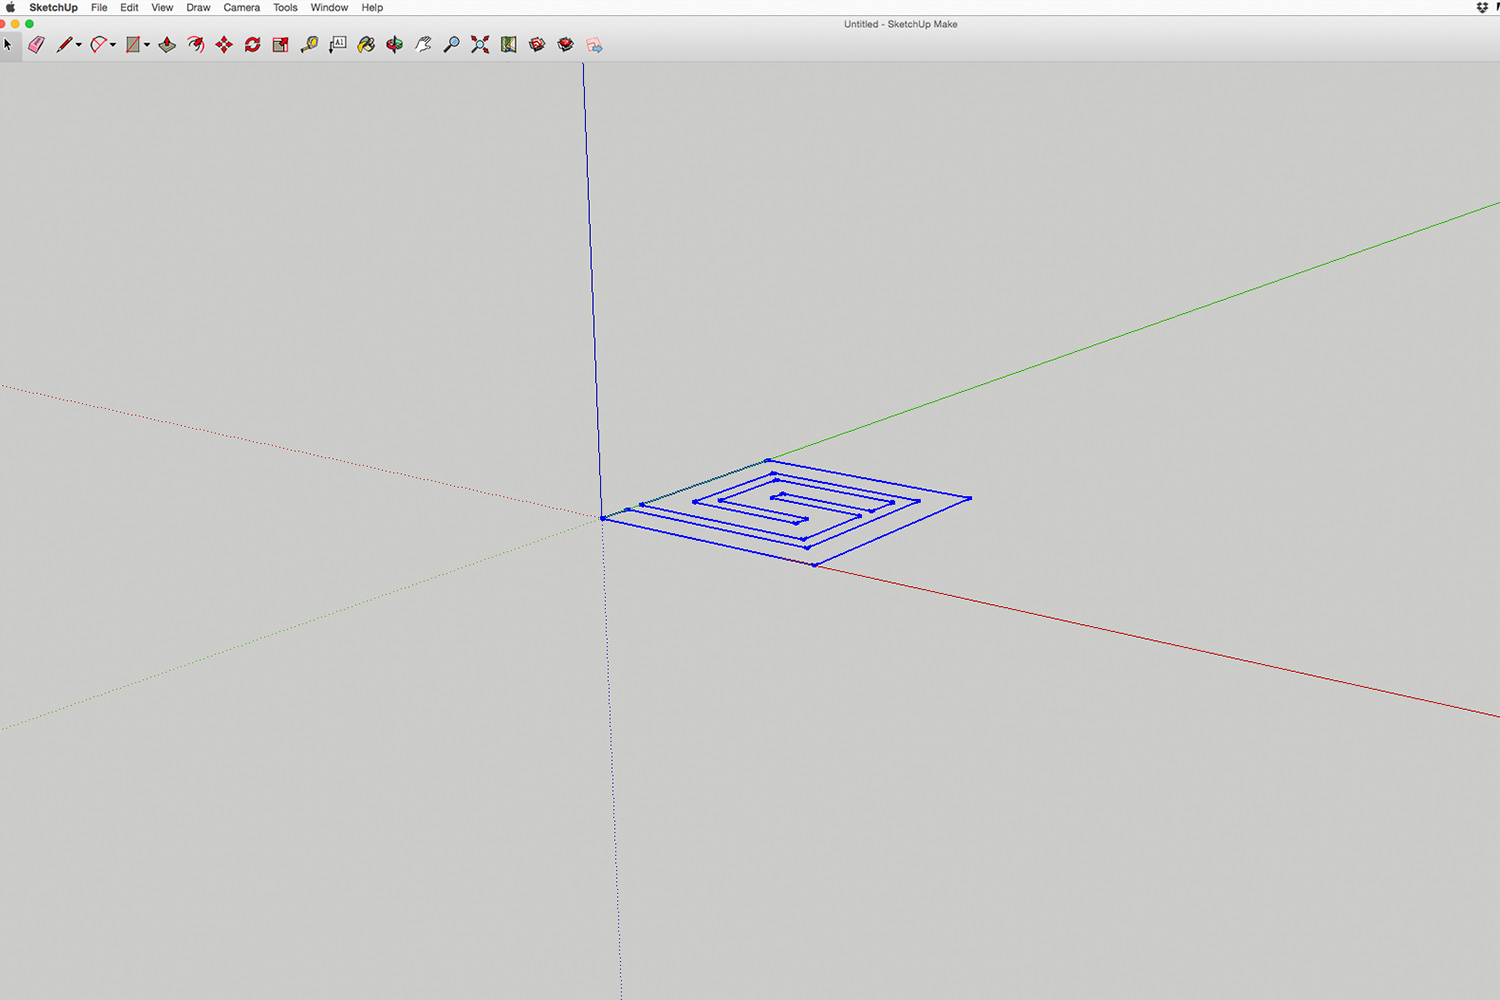
Step 2 The .DWG file is opened in Google SketchUp and extruded to taste

Step 3 The file is then exported from SketchUp as a .STL file

Step 4 The .STL file is opened in MakerBox and is scaled to size

Step 5 It can then be sent to print – this took around 3.5 hours to print and is 60mm in height

Step 6 The final product